Showing posts with label Planning. Show all posts

Sunday, 17 March 2013

Equipment

By Dom Lake


Posted As a group we were thinking of different ways to add some simple touches to our blogs, one of which was the animated .GIF's. These were really simple and easy to make although quite time consuming.
The basic idea is to make a background that is completely blank and place the item that you wish to animate in the center of the set, we then took a photo and then rotated the item around a 1/12 of a turn, the more photos will mean a smoother animation but 12 is enough.
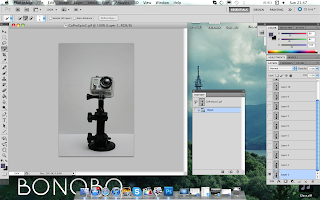
After the photos have been taken we then imported them to a computer and loaded all the 12 images into photoshop layers in the same image as you can see here. This is simple to do, but i personally choose to open them in Bridge and then highlight the photos i need then load them into photoshop layers as i personally think its quicker.


After that is done you then need to go to >Window and choose >Animation and then this window at the bottom will appear with all the photos from the layers.
Then press the play button to check to see if there are any repeated photos, if there are then click on the photo that is repeated and then click the dustbin icon to get rid of it.


From there i then checked the timing of the animation, if the timing was slightly wrong, i changed it using the drop down menu underneath each of the pictures, i chose 0.3 seconds for each photo.


After that, the file then needed to be saved as a .GIF, this can be done by going to >File >Save for Web and Devices, this then brings up another window in which i chose the file type as a .GIF then lastly click save.

Performance Planning


By Matt Dickinson


Click on the image to view my Prezi on the planning for our performance part of the music video. I made this shortcut for the presentation - the interactivity of the presentation is a lot more interesting to watch and more engaging than perhaps text and images on the blog


The performance is due to be the base bulk of a our music video, it is what

we can fall back on if other parts of the narrative goes wrong.


Therefore it was key that we tried to film as much as we can from every angle so


we were never short of footage when it came to post production especially as we


only have narrative shots edited into the timeline at the moment making up a few


minutes of the video. From looking at previous reports of people filming music


videos our teacher told us that the most important part is to make sure we have a


variety of different angles and distance shots (close up to long shots) to ensure a


consistency and fluidity of the video.


The first thing i did to look into making music videos online on youtube and there were a handful of videos which could give us tips and tricks on what too do. One video in particular was a lot of help, by Film riot. This is a channel dedicated to amateur cinematographers and how to improve so it was perfect.


It helped reinforce the importance of aspects like lighting, perspective and how shots can be manipulated in such ways to appear differently to the viewers on screen. Which could help us make our zero budget music video look a lot higher quality. The video is below.


So first thing first we focused on lighting, as this was primary going to make or break our music video. We looked around and found that FIlm riot had produced another video on how to light your scene which was very helpful however it brought our confidence down as it showed the reality in the amount of lights needed and the quality/colour of the light needed to get a professional and "fitting" look.


Also what we need to look at is what lights are going to be out of and in the shot. For Example in the picture to the side in side the shot is the light of the lamp. However that is not powerful enough to produce enough light so the camera can record on a low ISO and have a low amount of noise therefore they have included to external lights. One spotlight which will direct light in the same path of lamp making the viewer assume the lamp is stronger than it is and a background light to increase light of the overall scene.


Contrast can always be increased in post production to darken the background again but the difference will be that the shot will have no noise in the image which is something we may struggle with.


Back to colouring the image it is essential that even that colour correction can be applied in post production after, natural coloured light originally shot will improve the quality of the image and reduce extra work in post. This can be achieved a number of ways. For example Halogen lights are primary orange so if you want a cold blue sort of atmosphere then you are going to have to look for another bulb or filter to produce this tone and wont be seen as a safety hazard. I created a small comparison photo below showing the impact of tones below.


Planning this would be essential then to try and prevent us having to go back and re-film certain parts. Therefore i decided to make the scene of the performance entirely from scratch in a program called Cinema 4D (Modelling Software). This would allow me to play around with the lighting of the characters and to look at the layout of the band.


Finally finishing the model i came up with the following to mimic the band. Two Guitar players, Drummer, Keyboard and Main singer. However only one guitarist is actually needed i did this just to be safe.


Looking at lighting i knew i wanted a warm feeling to the performance as the song was connoting enjoyment of youth. Therefore i wanted a weak orange light to be included from the front not too bright to complete light the characters but enought to distish there features and create a glow about them. I then produced a three single a lot stronger neutral lights from behind to create the silhouette feeling we wanted to create as shown perviously on the pitch.


From the video you can see me playing around with lighting to get a fair distribution across all actors so individuals weren't singled out and parts aren't missed.


We then produced a list of what lights we were going to use in this process then. The first lights we were going to use were my high powered lamps which produce a bright orange tinted light which could be pushed as some of the lights in the background to give the spotlight effect effect we wanted. However i don't think these will be bright enough to produce the backlight. These will be placed more in the corners at the back to give the actors some contrast light on their sides and hopefully produce a sort of halo effect.


Then we also had two flood lights which are primary used during construction and are perfect for lighting up big areas. We are going to put this right in the centre at the back of the hall to produce the main beam to light up the backs of the actors also producing this halo, silhouette look. However these are extremely hot so care will have to take care to how long we can leave these on.


Finally we have a Long Panel LED light which is no where near as bright as the other lights. However it produces a crisp white colour which reacts very well when on skin. We are going to use this as our front light to gently increase the tone and exposure on the singer and front men in the actors. The light isnt bright enough to have a serious effect on the actors making them squint etc hindering the performance however will just create a small contrast making features more distinct.


We also are going to make sure we have extension leads so that all the lights at the back and other things can be correctly positioned without having to worry about a plugs.


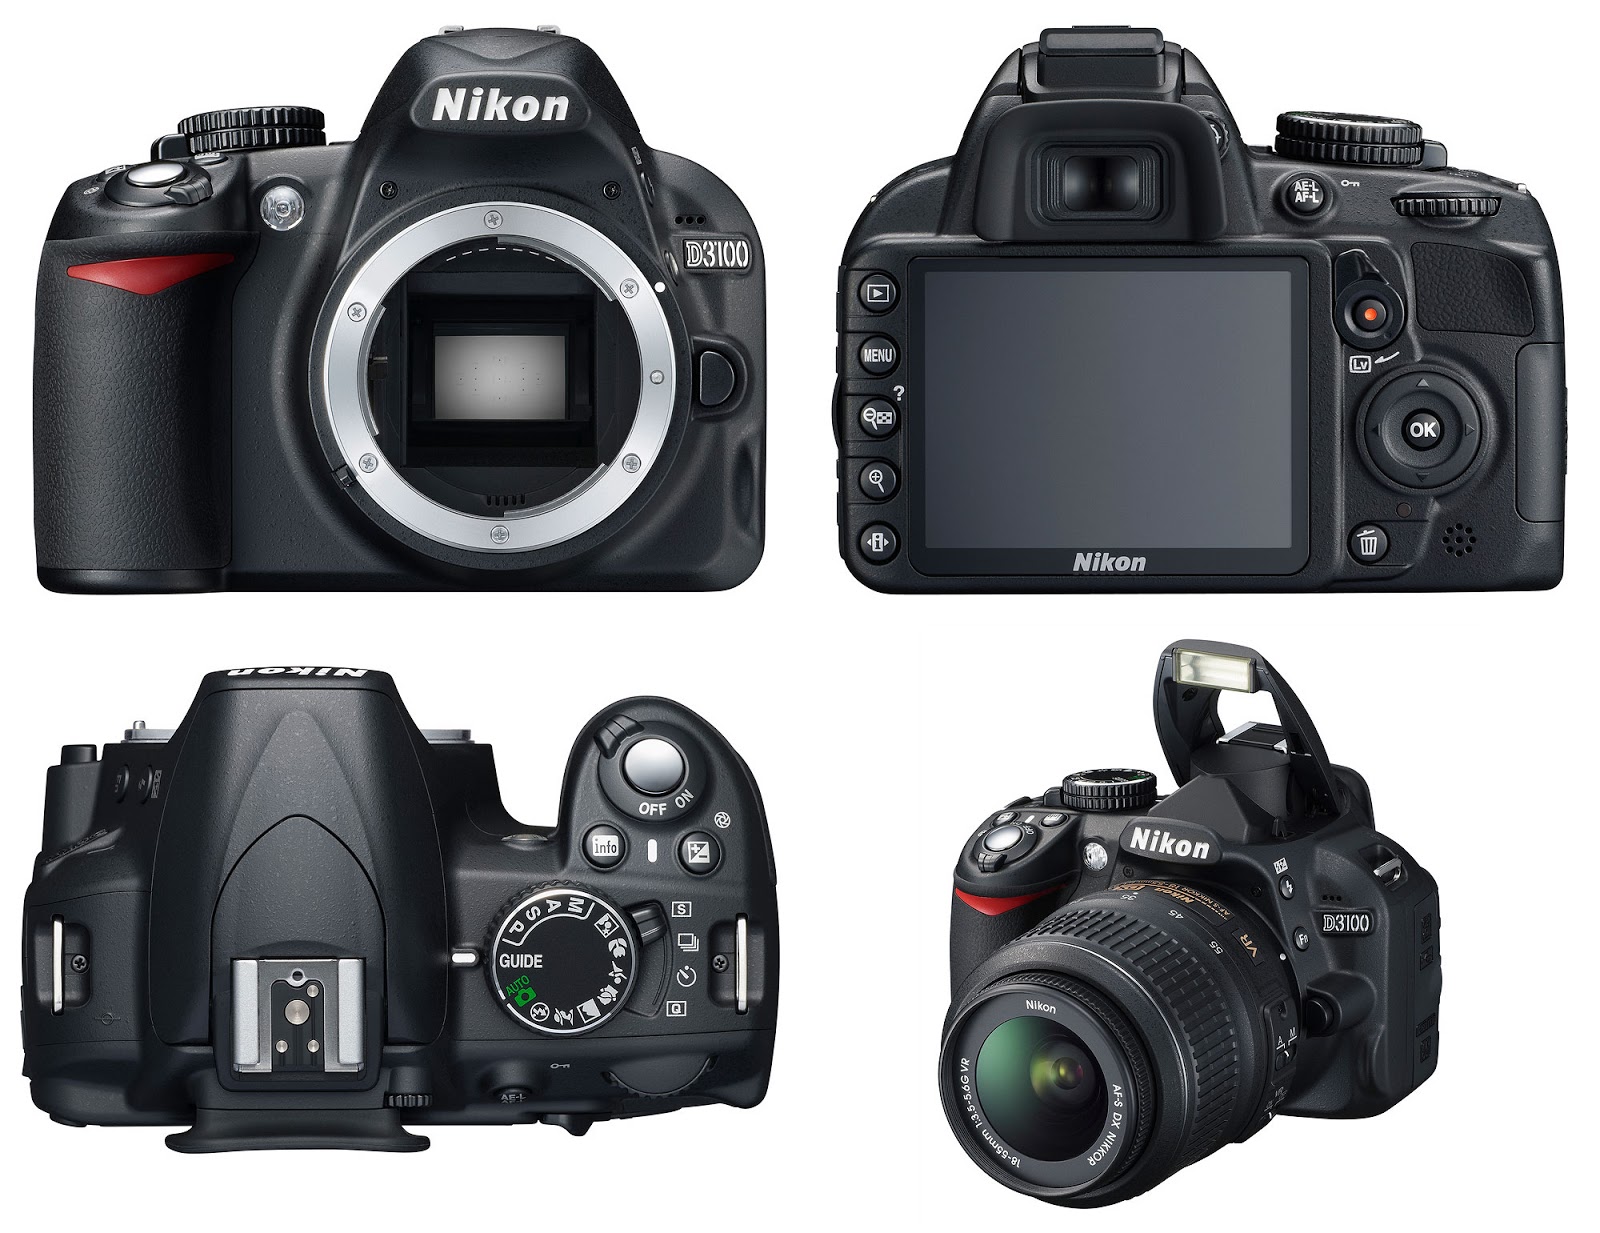
Next on the list to plan was the equipment actually we would use to actually film. We had two cameras that were available to shoot HD 1080 at 30fps which were the Cannon 550D (below left) and the Nikon D3100 (Below Right). We have a number of lenses available to use each can there own affect from an fish eye to zoom and prime lenses. For more Information on the lenses and their uses check out our lenses post. Each camera had 8 Gb card so we will bring our laptops with us and charges as there were multiple plugs available to clear the cards when full so we wont have to worry about the amount we can film.


I also am going to bring my speakers to the hall to make sure we have a secure and loud base to play the music across. This will allow the drummer to play properly and in time with the beat making it easier for us to edit and the others to still here the song with the drummer behind them. Also the louder the music hopefully the more the likely they are going to be able to get into the song as if it was there own making their movements and actions seem more natural on camera.


Finally our secret weapon to the video will be a smoke machine that we were able to get a hold of through a friend. This produces no toxic smoke a press of a button that we are planning on using towards the end of the video just to add some movement to the background of the filming making the clips even more dynamic and interesting.


Colour Powder

For our colour fight scene we are aiming for it to portray a very energetic feel and atmosphere to suit the song. There will be many close ups of the actors faces to show emotions and reactions while the long shots of the actual action scenes. To give some examples of the footage we are trying to recreate i have put together this post to try and share the insight of what i had in mind.


Above and below are some photos taken from the "Color Run" website (Yes its american) which is a run in many cities across the US to help raise money for a charity of choice. However throughout the race and after the participants cover each other in colour powders for fun. This is the same powder that i have got called "Rangoli Powder" which can cover and stick to the skin but does not stain which means we can wear good quality clothes and not be worried about the powder staining these. This also saves us buying clothes just for this shot. However we are going to ask the actors to wear quite minimal and simple clothes so the powder stands out for the camera.

This is a video produced by a amateur film director called devin "supertramp" where he filmed the festival of holi in india also known as the festival of colour. This is also shown in my pitch post. However also below is the behind the scenes video of when he was filming and this is helpful to see how we can recreate something very similar to his work.


The pictures of the packets of powder we have is below. We made sure we got alot of bright and warm colours such as orange, yellows and pinks to connote happy upbeat and enjoyable atmosphere. We are going to make sure that each of the actors have there fair share and are covered in it to show their enthusiasm.


As you can see they come in small little packets which will allow us to split them easily and may even lead to us being able to throw them easier at each other instead of just throwing the powder itself. Either way there is no way to test this without wasting powder so we will have to leave it to when we actually want to film the scene.


Even though we are using coloured powder which is extremely unpredictable we are still going to be using the DSLR we have to film.

To protect these from the colour powder we are going to do a number of things. Firstly and most importantly is the lens which i have some clear cheap lens filters to cover and protect the lens from harms way. This will prevent any permanent damage to the lens and are easy to replace.


The second thing is the actual body of the lens. Colour powder could get into all the small holes and compartments of the camera completely destroying it and making it very dirty at the same time.

As we didn't have any money to buy housing to protect it from this sort of "environment" i thought it would be a good idea to cover the cameras in cling film. A cheap and easy option which is easy to cover the camera and still have access to nearly all the buttons quickly.

Then the cling film can just be chucked away after with no washing due to the low cost. We made sure we left the lens uncovered due to the lens filters and we still had access to watching the footage as the cling film is clear while being being thin enough to press all the buttons. The only slight issue was manually focussing and zooming which meant we went though a lot of cling film.


Tuesday, 29 January 2013

Band Clothing


When shooting our music video it was extremely important that we had artist clothing, that was suitable to represent the band and genre of music that we have used. The main focus was to represent a modern but indie group. To do this we had to look at other examples that were similar to 'The Naked and Famous'. Therefore the obvious first choice was the band themselves and in the picture above there is a example of their style in fashion. Although simple it has a smart but quirky feel the denim  jacket worn by David Beadle was an idea that when then used in our performance. The denim jacket bought from All Saints was worn by myself playing the Keyboard player. The main theme was smart casual throughout which lead to the band wearing jeans or denim shorts however it was important not to present a bland outlook which meant that I wore red chinos from Ted Baker in order to offer some variety in the bands attire. My checked Fred Perry shirt is a style and brand that is often seen in young male bands such as Oasis and The Kaiser Chiefs. 


A mix of colour was also important and although 'The Naked and famous' often wear dark and plain colours we decided that to portray a different vibe we should add in some colour. Therefore we decided that as the main two members of the group Becky (the lead singer) and Luke (the lead guitarist) should wear and outfit that will have more of a visual impact on the audience. For the lead singer we considered a wide variety of options however settled upon a country rock theme in order to mix the look up between the band members. A good example of the look is Taylor Swift who you can see to the side wearing a red checked shirt. We decided to use this idea and added a pair of denim shorts and leather boots to complete the 'cowgirl' look. As the other main focus of the group Luke was required to have some sort of a connection with Becky which lead to him also wearing a coloured checked shirt. Luke's rather simple but classic looked was based around Noel Gallagher, who you can see the the right. He is an artist liked by many in our group and as a icon to indie bands seemed the ideal person to base the guitarist look around. Also his style can fit into almost and scenario or genre of music.

The Drummer of our band Max who was a very talented drum player which helped him fit into the role was dressed simply as it is not often that you see the drummer of the band wearing something that makes him stand out from the other members. Although most often the drummer will just wear a plain t-shirt we agreed that in order to fit in with the style of the band he should wear a shirt. Therefore we decided on the plain light blue Ralph Lauren shirt which is a classic and timeless look that has been around for years however it does not draw the eye away from the main focus of the band. It is similar to the shirt worn by Marcus Mumford from Mumford and Sons who sometimes players the drums for the band.

We also felt it important to insure that the look was complete including hairstyles therefore myself and Luke had smart comb over styles with Max sporting a more casual but still groomed quiff and Becky having her hair down to create a frame for her face, drawing focus from the viewer.


Filming Construction - By Luke and Danny

Luke and Dan Commentary on the filming progress from the start.


Luke and Dan Commentary on the filming progress from the start.


Above you can see a video showing clips of our group filming the early stages of the music video. It shows the problems that we encountered well as in the first clip you can see someone in the background which ruins the entire shot. However probably the most prominent problem that we had to overcome was the terrain with the uneven ground making it hard to get clear and steady shots. This lead us to try and make a steady cam out of pipes bought from B&Q which you can see in the second picture to the left. This was not that effective at first but after some adjustments it proved to be useful and helped us with some of the shots especially with the Go Pro camera. In the first picture you can see the way the sunset makes a good effect on the scene in the way the light comes through the trees.    


Friday, 7 December 2012

Location - By Matt

Location has a huge influence on music video can completely separate differences between high and low quality videos. Therefore it was key for us to try and find the best places t film the narrative and performance.


Narrative

The narrative is made up of numerous locations and scenes. As we trying the capture the idea of youth and having fun we wanted to have different groups of people and friends enjoying themselves in relatable places, adding a sense of realism to the piece. This means however that each individual segment will have to filmed on a separate day and overall filming and production may take loger purely due to travelling etc. 


Field walkthrough from Crazydodobird 

First play i went to was a filed which is local to our area. This is just one of many fields some are very open similar to this and some are slightly different. This is the area which we were planning on using for a group with the balloons like in the foals video. 
 

Skate park walkthrough from Crazydodobird

This is one of our local skateparks that we were planning on using during the video to film tricks. There are also other skateparks
 

Tuesday, 27 November 2012

Animatic - By Danny and Dom


We story-boarded a list of ideas that we had and drew them out as in what shots we wanted, what scenes and the way these would be presented.

Danny done the animatic video on final cut pro but taking pictures of the storyboard and then editing them to an animated video so it move in time with the song - Young Blood by The Naked and Famous. The problems we had with this were that the drawings did not come up brilliantly against the white paper and were quite faint therefore it was hard to see what was being shown.


There would also be a lot more cuts and transitions in the actual music video but it was not plausible to get these all fitted in. A lot of the shots also wont exactly be planned in a sense as when we begin filming we will decide on doing shots we had not planned - going with our gut feeling on what we feel looks good etc. So when for example we have sown the band from a long shot , within this would be a series of close ups from different angles focusing on different things but this will change without a doubt during the editing so it is almost impossible to plan everything already before we have started filming, although we can get a rough idea.

Sunday, 25 November 2012

Time Managment - By Luke


I made a Gantt Chart for a number of certain tasks which we had to complete in order to speed up our research and planning process after our pitch. Our pitch as a whole went down rather successfully with a few changes needed to be made which can be seen in the post 'Pitch 1'.


These tasks above were mainly in order to see what steps we are going to take in the production of our music video and the necessary research needed in order for the filming to go smoothly. By taking pictures of potential locations and costumes we can decide as a team what is best for the video and whether it would go with the direction we are wanting for it to go in - the indie alternative market.


By splitting the tasks up evenly between our group we can each focus on different aspects and give much more detailed analysis as opposed to having to do everything individually which would surely result in a lack of research for out video as a whole. Some posts we can do ourselves as we can put our own personal opinions in such as clothing and how the band should look - because then this way we have lots of ideas which can then be deliberated upon as a group. There is a wider choice and more options that way.

Friday, 9 November 2012

Clothing Ideas For The Music Video - By Luke


As the song that we have chosen is to of the indie electronica genre, the clothing and styling of the band members is absolutely crucial to how the band will be portrayed to the public.
The main focus for us is to create a typical indie band and to try and keep strictly to indie styled clothing and hair styles etc. This will prove difficult but if done correctly it will give us the star image that we want to give the band. This is seen in our research as most artists have an iconic look which not only attracts a fan base but also reflects their persona. A key example of this is the band 'Kiss' who consistently wear leather with their black and white face paint - giving them their identity.
Recently we have been searching the internet for different sort of outfits for the band members to wear and we decided on the lead singer, as she is a female that she should wear a typical floral type dress for the performance part of the video, here are some ideas;


When researching what makes an indie outfit we looked at a selection of blogs and websites such as googling 'How to dress indie?' - sites such as 'WikiHow' came in very useful as there are lots of tips that we can use to enhance our own knowledge that we have already. The research sort of already confirmed the image we had in our heads of what 'indie' actually is but we could just get a better insight through the experts advice. We could then go away onto websites (below) with our new knowledge. The key thing to remember was that indie literally means 'independant' therefore we have a lot of flexibility and options


Florence Welch is a fashion icon and we can use her example to see what makes a unique female music artist as our lead singer as mentioned is a girl and we want her to stand out in the music video - by creating a qwerky alter-ego we can achieve this look. 
Florence usually performs in flowing dresses which contrast against her hair colour. Because she has such a distinctive hair colour and style, she compliments it and almost highlights it as her identity even further. Even when she is dressed casually as you can see, she dresses with independence and this reflects her personality.


This little slideshow shows some of the ideas that we have had from looking at fashion websites such as; Topshop, Urban Outfitters, ASOS etc. and google images. As a group we may need to purchase a the perfect outfit for the lead singer. We want to portray her as a fashionista, leading the way for other people to follow. In this case, she needs to stand out as being a unique individual who does not neccessarily follow any trends - she sets them herself. This being said, the style needs to be in keeping with the indie feel of the music video otherwise the two elements of music and fashion will not compliment each other. They need to show what direction we are heading in.

The other narrative based part of the video is going to be slightly different, as its going to be lots of different groups of people doing lots of different activities, the clothing will be tailored to who the people are and what they are doing in the scene that they are in for example, in the camping scene, all the actors will be dressed up warm around a camp fire wearing jumpers in sleeping bags etc, in the scene thats in the field it will be the same sort of attire that they were wearing during the performance.


We decided that the males in the performance part of the video will be wearing clothes that represent the indie genre also, for this we also looked into fashion website for the males like; Topman, Urban outfitters etc. Here are some examples of what we are looking for.....although some have hipster/electronica elements fitting into groups such as Scenester kids.


Make your own slideshow with music at Animoto.


Styles that I personally like are the bright and vibrant AZTEC ones. This is actually very in fashion at this present moment in time with the winter season. You can see these styles appearing in a lot of retail stores...it is the idea of patterns and bold colours being put onto a piece of clothing. It makes a big statement and has 'indie connotations'. When looking at websites this was a prominent theme. Also a lot of people at our age of 17/18 have started to settle into this Aztec niche market and if adults in bands are wearing this style they do look much more young and almost appear more creative and exciting.


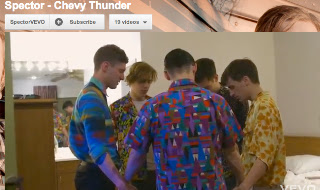
The band Spector are good examples of making bright colours look qwerky and quite trendy. Normally it is common to think you stand out in a bad way but they have their own unique style and star image. Their style I think opitimizes them. Thry are normally seen with tie-dye shirts in yellows, reds, blues and various other colours. It separates them from the crowd and also highlights this fashion revolution.  I think that the clothing item of a shirt looks smart yet can be made casual at the same time - looking rather effortlessly cool.


Bands like Foals have the common look of skinny jeans and short sleeve shirts - shown in the Balloons video. It gives a summery feel despite the fact that we will be shooting our video in the middle of the winter period. They look tailored, especially with button down collars as these give the look a more casual appearance. Foals provide a contrast to Spector as they are more often seen in pastel coloured shirts as opposed to a variety of vivid colours.